Stop The Tsunami How to Build Defenses
Dig, pile, trench, pack, and patch — wall craft that survives the tsunami instead of decorating the beach.
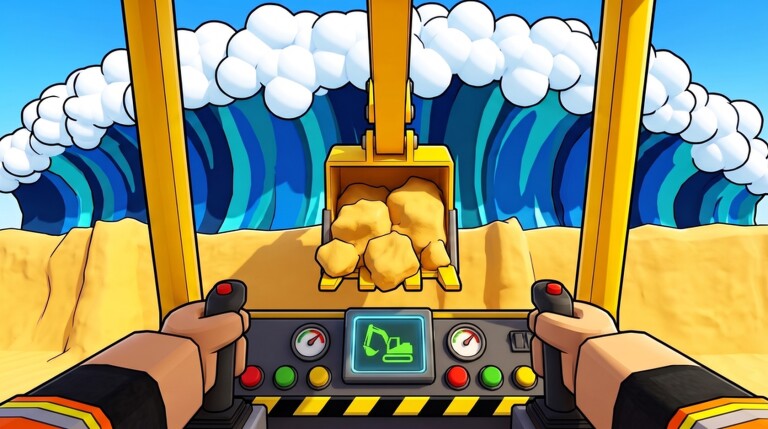
Defense is the whole game in Stop The Tsunami!. Fancy machines matter, but only because they help you move sand and later materials faster into a structure that can take a hit. This guide focuses on how to dig, pile walls, carve trenches, pack hard, and repair mid-wave, plus the failure modes that dump Easy and Medium runs. Pair it with Getting Started if you are brand new, Hard Mode when waves outgrow plain sand, and the materials tier list when gravel, boulders, clay, and concrete enter the plan.
The defense loop
Every successful round follows the same spine:
- Dig raw material from the beach.
- Pile it into a continuous wall across the tsunami path.
- Carve trenches that support the face without undercutting the foundation.
- Pack hard until the structure behaves like one mass.
- Press START ROUND and repair any soft spots while the wave tests the line.
Skip packing and you own a sandcastle. Skip continuity and you own two half-walls with a murder gap. Skip mid-wave awareness and a small leak becomes a town-sized wipe.
Digging with intent
Digging is not random excavation. Decide where the wall must stand, then dig to feed that line. On Easy, the toy spade and early shovels are enough if you stay disciplined. On wider beaches after cleared stages, you need machines from the upgrade path so dig volume keeps up with length.
Good dig habits
- Scoop toward the wall site, not away into useless dunes.
- Keep a steady rhythm instead of sprint-digging one hotspot and ignoring flanks.
- Leave access paths so you can return with pack tools or a skid steer.
- In co-op, assign one digger so drivers are not starving for material — see Co-op Guide.
Bad dig habits
- Swiss-cheese pits under the future foundation.
- Digging the only high ground you needed for wall height.
- Spreading piles so thin that packing never catches up.
Piling walls that actually span
Pile sand into a continuous ridge that matches the approach the wave will take. Height matters, but continuity matters more on Easy. A uniform medium wall beats a tall center spike with open sides.
Shape rules
- Seal the flanks. Water loves edges. Extend past the obvious center.
- Keep the crest even. Sudden dips become overtopping points.
- Avoid hollow cores. Dumping a shell and hoping packing fills it rarely works under time pressure.
- Respect stage width. After you clear stages the beach widens; rebuild longer walls instead of recycling a short Easy footprint.
When friends share machines, one player can pile while another grades with a bulldozer or skid steer. Solo players should alternate dig and pile in short cycles so neither side of the wall falls behind.
Trenches that help instead of sabotage
Trenches give shape, working room, and sometimes flow control — but a trench cut under the wall base is a self-own. Carve trenches alongside or in front of the packed face according to how you stage the round, never as a ditch that removes the foundation you just built.
Use trenches to
- Mark the build line so piles stay aligned.
- Create a repair alley you can run during the wave.
- Manage excess sand without scattering random mounds.
Do not use trenches to
- Undercut the wall for “style.”
- Split the barrier into islands.
- Dig so deep that packing cannot reconnect the mass.
Packing — the skill that separates holds from wipes
Packing turns a pile into a wall. Unpacked sand shears when the tsunami hits; packed sand holds long enough to earn coins and teach you where the next upgrade is needed.
Packing checklist
- Finish the continuous pile first — do not pack a gap-filled mess.
- Work the crest and the face, not only the pretty front.
- Revisit soft corners after you think you are done.
- In co-op, give one player a dedicated pack / patch role.
- If time remains, add material and pack again rather than staring at the START ROUND button.
Late materials change the packing story. Gravel, boulders, clay, and concrete from the materials tier list resist harder waves, but they still need proper placement and compression. Hard mode players who dump concrete in a crooked line without packing discipline still flood — details live in Hard Mode.
Repairing mid-wave
When the round starts, watch the water climb. Soft spots darken, slump, or spray first. Sprint to those points with remaining sand or stronger materials and patch before the leak widens. Mid-wave repair is why co-op shines: a digger can keep feeding while a patcher stays on the face.
Mid-wave priorities
- Seal active breaches over cosmetic height.
- Reinforce the lowest overtopping section.
- Do not abandon a half-patch to start a new vanity tower.
- Call the weak point out loud in co-op so drivers bring mass to you.
If the wall is already gone, burn Rewind only when the lesson is learned and the rebuild plan is clear — panic Rewinds without a new design repeat the same wipe.
Common wall failures
Gap at the flank. Looks fine from center camera until water wraps around.
Unpacked crest. Tall but soft; collapses into slurry on impact.
Undercut trench. You dug your own failure plane.
Short wall on a widened beach. Stage clears expand the shoreline; old footprints are not enough.
All height, no base. A needle tips; a berm holds.
No repair plan. Everyone spectates the first leak instead of packing it.
Material mismatch. Sand-only walls on Hard against concrete-tier waves. Upgrade materials when difficulty demands it.
Difficulty and materials
- Easy: Sand, shovel discipline, packing practice.
- Medium: Cleaner trenches, earlier machines, fewer forgiven gaps.
- Hard: Stronger materials, excavators, dump truck logistics, and team roles.
Do not blame “RNG wave” until your wall is continuous, packed, and repaired. Most wipes are construction errors wearing a blue costume.
Practice drill (ten minutes)
- Build a short Easy wall focusing only on continuity.
- Rebuild the same line focusing only on packing.
- Add a trench that does not undercut.
- Start the round and practice one mid-wave patch.
- Note the failure point; fix that habit next run.
Repeat until START ROUND feels boring. Boredom means your defenses are ready for wider beaches and the machine upgrades in Upgrade Machines.
Related reading
- Foundations → Getting Started
- Harder waves → Hard Mode
- What to build with → materials tier list
- Team roles on the wall → Co-op Guide
Master dig, pile, trench, pack, and patch, and every other system in Stop The Tsunami becomes a multiplier instead of a crutch.
Frequently Asked Questions
Quick answers for Stop The Tsunami players.
What is the most important step when building a wall?
Pack hard after you have a continuous pile. Unpacked sand looks solid until the tsunami hits, then it shears. Continuity plus packing beats random height spikes.
Why do my walls keep failing on the sides?
Flank gaps and uneven crests let water wrap or overtop. Extend the wall past the obvious center and keep height even end to end before you press START ROUND.
Should I dig trenches under the wall?
No. Trenches should support the face or mark the build line without undercutting the foundation. A ditch under the base is a planned collapse.
When do I need gravel, boulders, clay, or concrete?
As difficulty rises into Hard and beaches widen, sand alone stops being enough. Rank late materials with the materials tier list and prep them in Hard Mode.
How do I repair during the wave?
Watch for slumps and sprays, seal active breaches first, and in co-op assign a patcher while others feed material. Details and roles are in the Co-op Guide.